
Wedding Stationery Timeline: Narrating Your Love Story Through Paper
- Karina Gaio
- Jan 17, 2025
- 2 min read

Updated: Apr 8, 2025
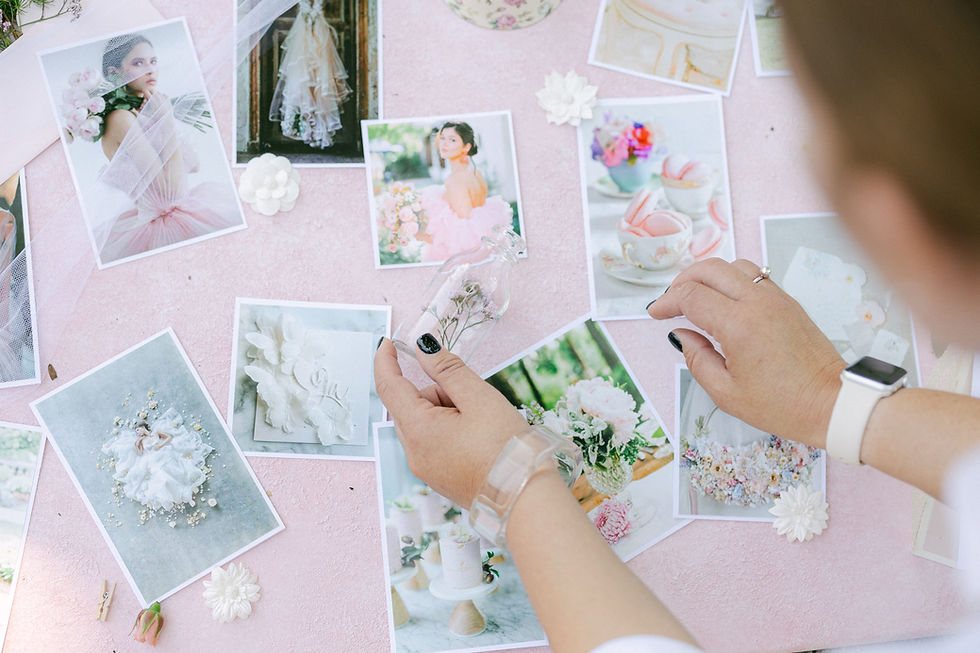
Your wedding stationery is more than just paper and ink—it's a powerful tool for telling your love story and guiding your guests through your special day. Create a cohesive narrative that unfolds from when your save-the-dates land in mailboxes to the final thank-you note. Let's explore how to craft this narrative through your wedding timeline, using stationery as our storytelling medium.
Save-the-Dates: Setting the Stage
Your journey begins 6-9 months before your wedding day with save-the-dates. These initial announcements set the tone for your celebration and give guests their first glimpse into your wedding style. Consider incorporating elements that hint at your venue, color scheme, or theme. For destination weddings, send these out even earlier—8-10 months in advance—to allow guests ample time to plan.
Introduce your wedding style
Hint at the venue, color scheme, or theme
Allow guests to plan ahead

Wedding Invitations: The Main Event
As the main event approaches, your wedding invitations take center stage. Aim to send these out 4-8 weeks before your wedding day. This is your opportunity to showcase your wedding aesthetic and provide crucial details in full. Include separate pieces to create a comprehensive suite that builds excitement.
Fully showcase your wedding aesthetic
Provide all necessary details
Include separate cards for accommodations, directions, and RSVPs

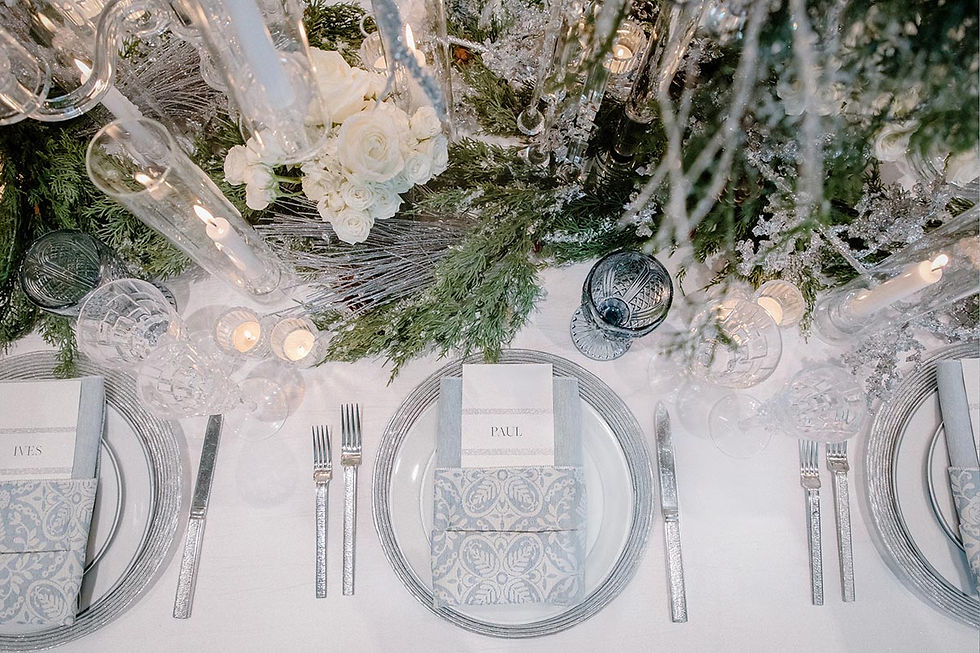
Day-of Stationery: Guiding the Experience
Start planning your day-of stationery 2-3 months before the wedding. This collection of items will guide your guests through the celebration. Make sure to include:
Welcome signs
Ceremony programs
Seating charts
Menu cards
Table numbers
Place cards
Ensure each piece reflects your overall design while serving its practical purpose.
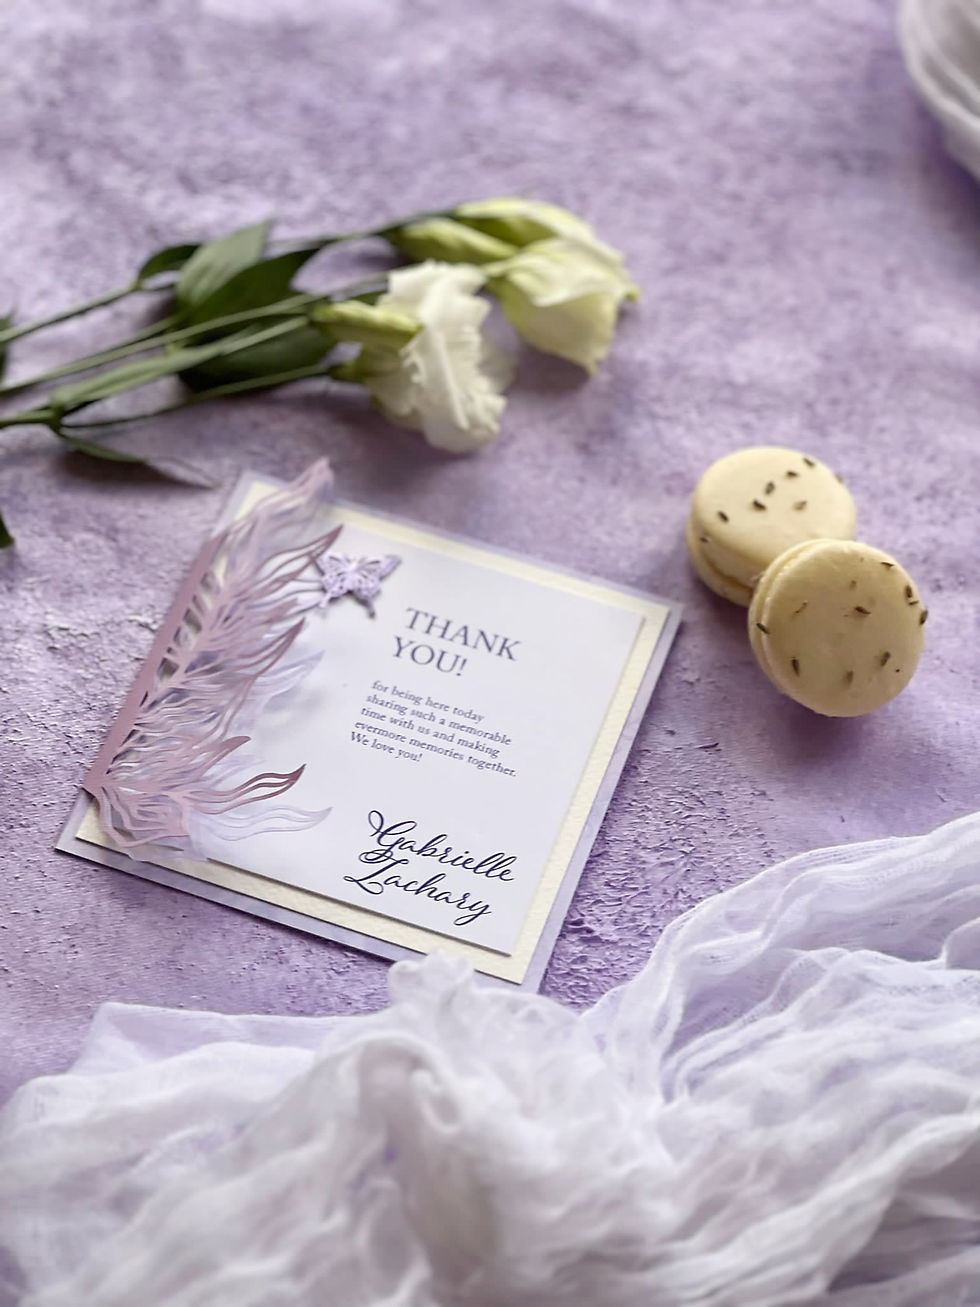
Thank-You Cards: Expressing Gratitude
Complete your stationery narrative with thoughtful thank-you cards. Order these along with your day-of stationery, so you're prepared to send them within 2-4 weeks after your wedding. This final touch allows you to:
Reflect on your special day
Express appreciation to your guests
Timeless Tips for a Cohesive Stationery Narrative
Consistent Design Elements: Use a cohesive color palette, typography, and motifs across all stationery items to create a unified look.
Personal Touches: Incorporate elements of your love story throughout—perhaps a custom monogram or illustrations of significant places.
Quality Materials: Choose paper stocks and printing methods that reflect the elegance of your event.
Timely Delivery: Adhere to suggested timelines to ensure guests have all the information they need when they need it.
Attention to Detail: Proofread meticulously and double-check all dates, times, and locations.
At Timeless Impress, we're dedicated to helping you create a stationery suite that beautifully narrates your journey from engagement to "I do" and beyond.
Let's design a timeline that's as unique and timeless as your love story.

Comments